Getting Started with Dungeon Flow
By Josh on April 21, 2025
So you've heard about Dungeon Flow. But maybe you're not quite sure how to get started.
Don't worry. Follow these four steps and you can have a printable/VTT-ready dungeon in under five minutes.
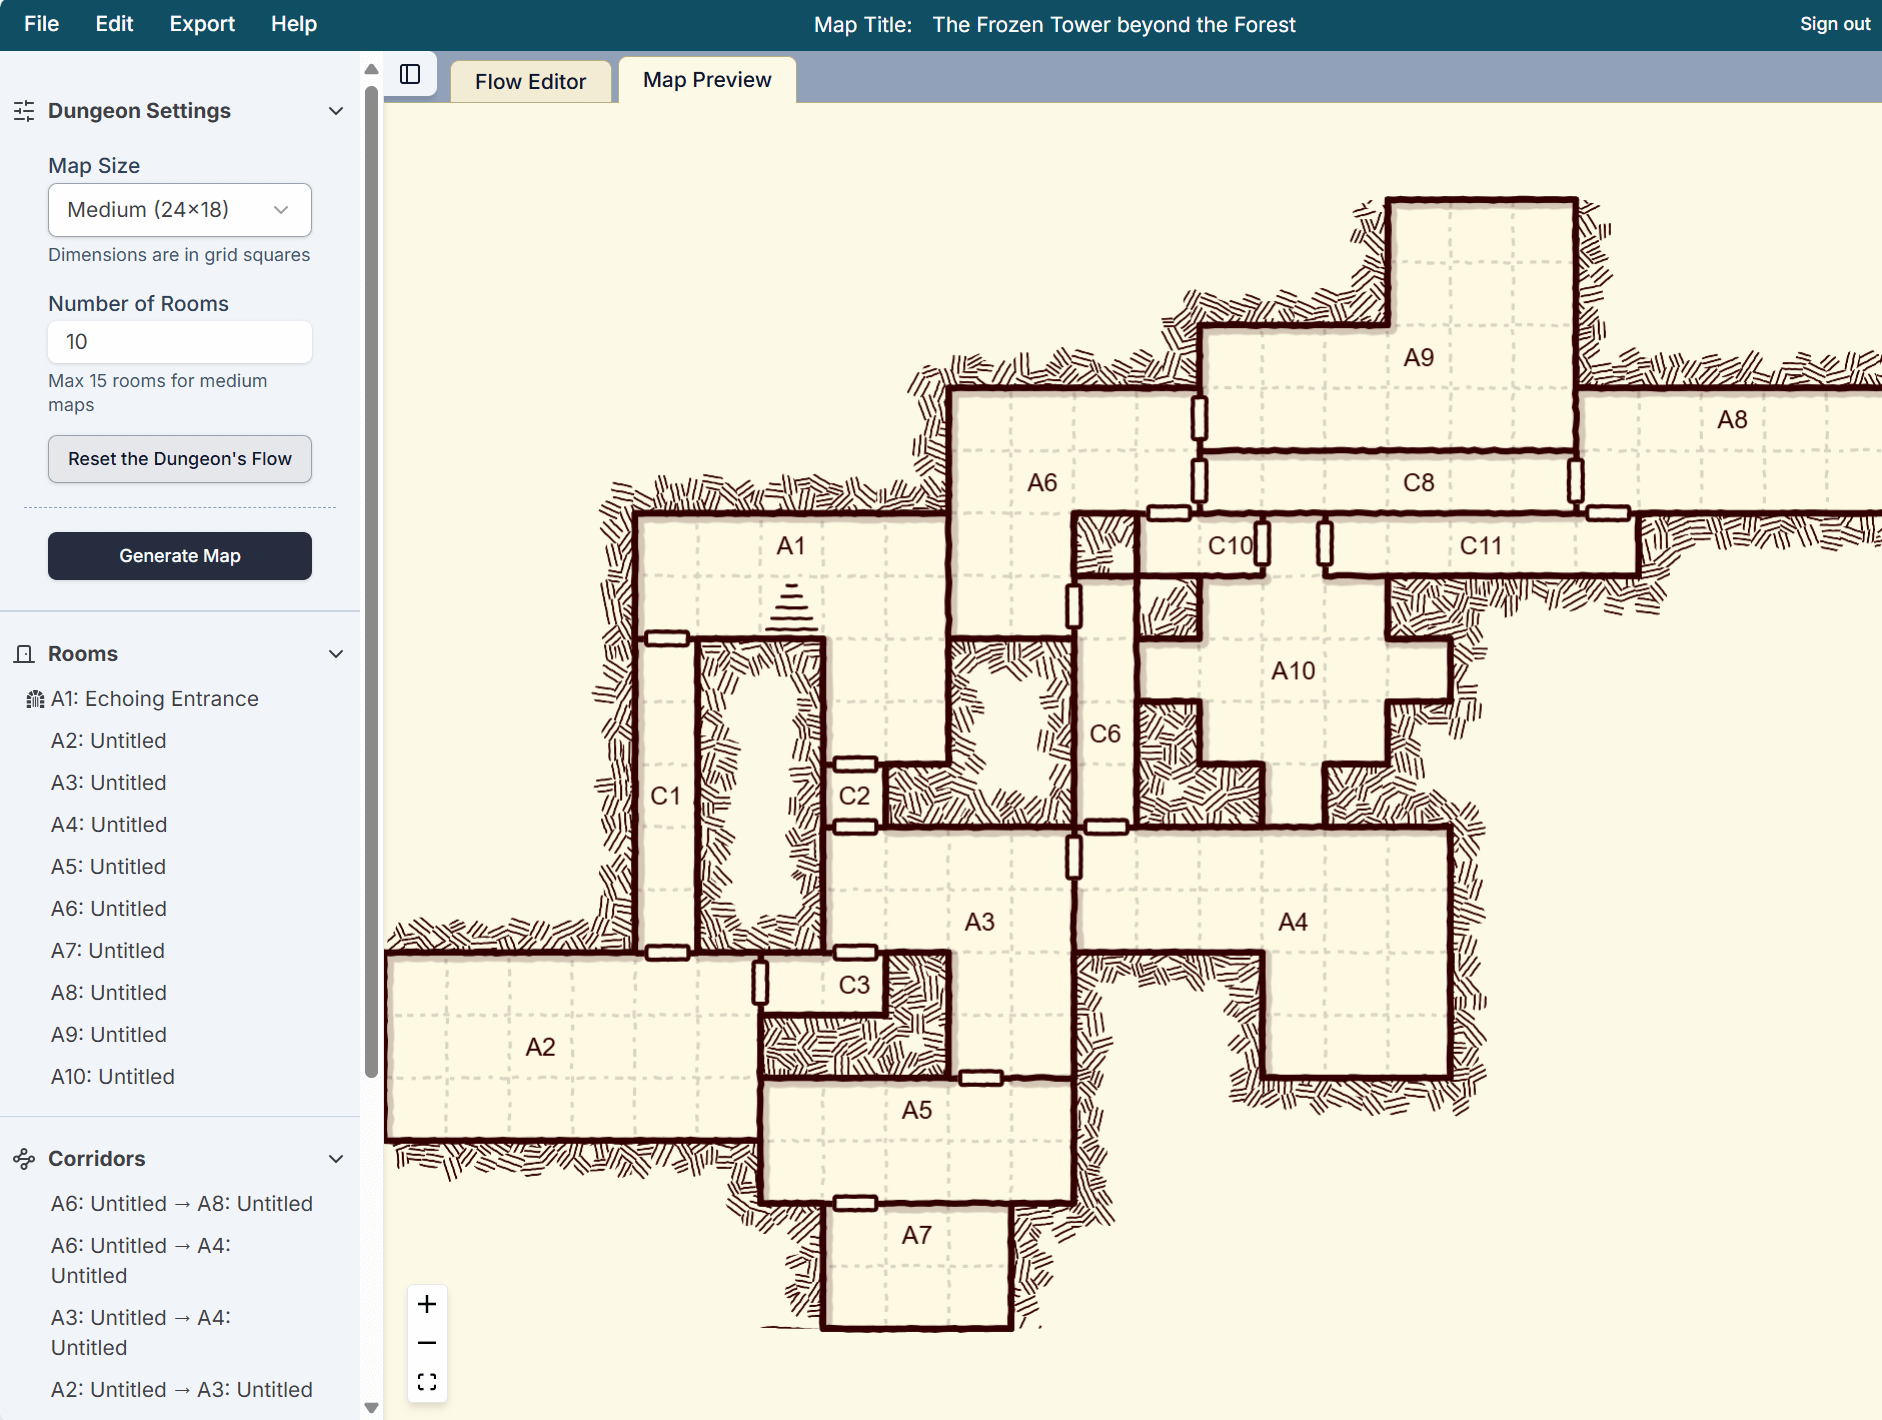
1. Create a dungeon
When you go to the dungeon editor, you'll be given the option to create a new dungeon. Just choose your map size and the number of rooms you want, and you're good to go.

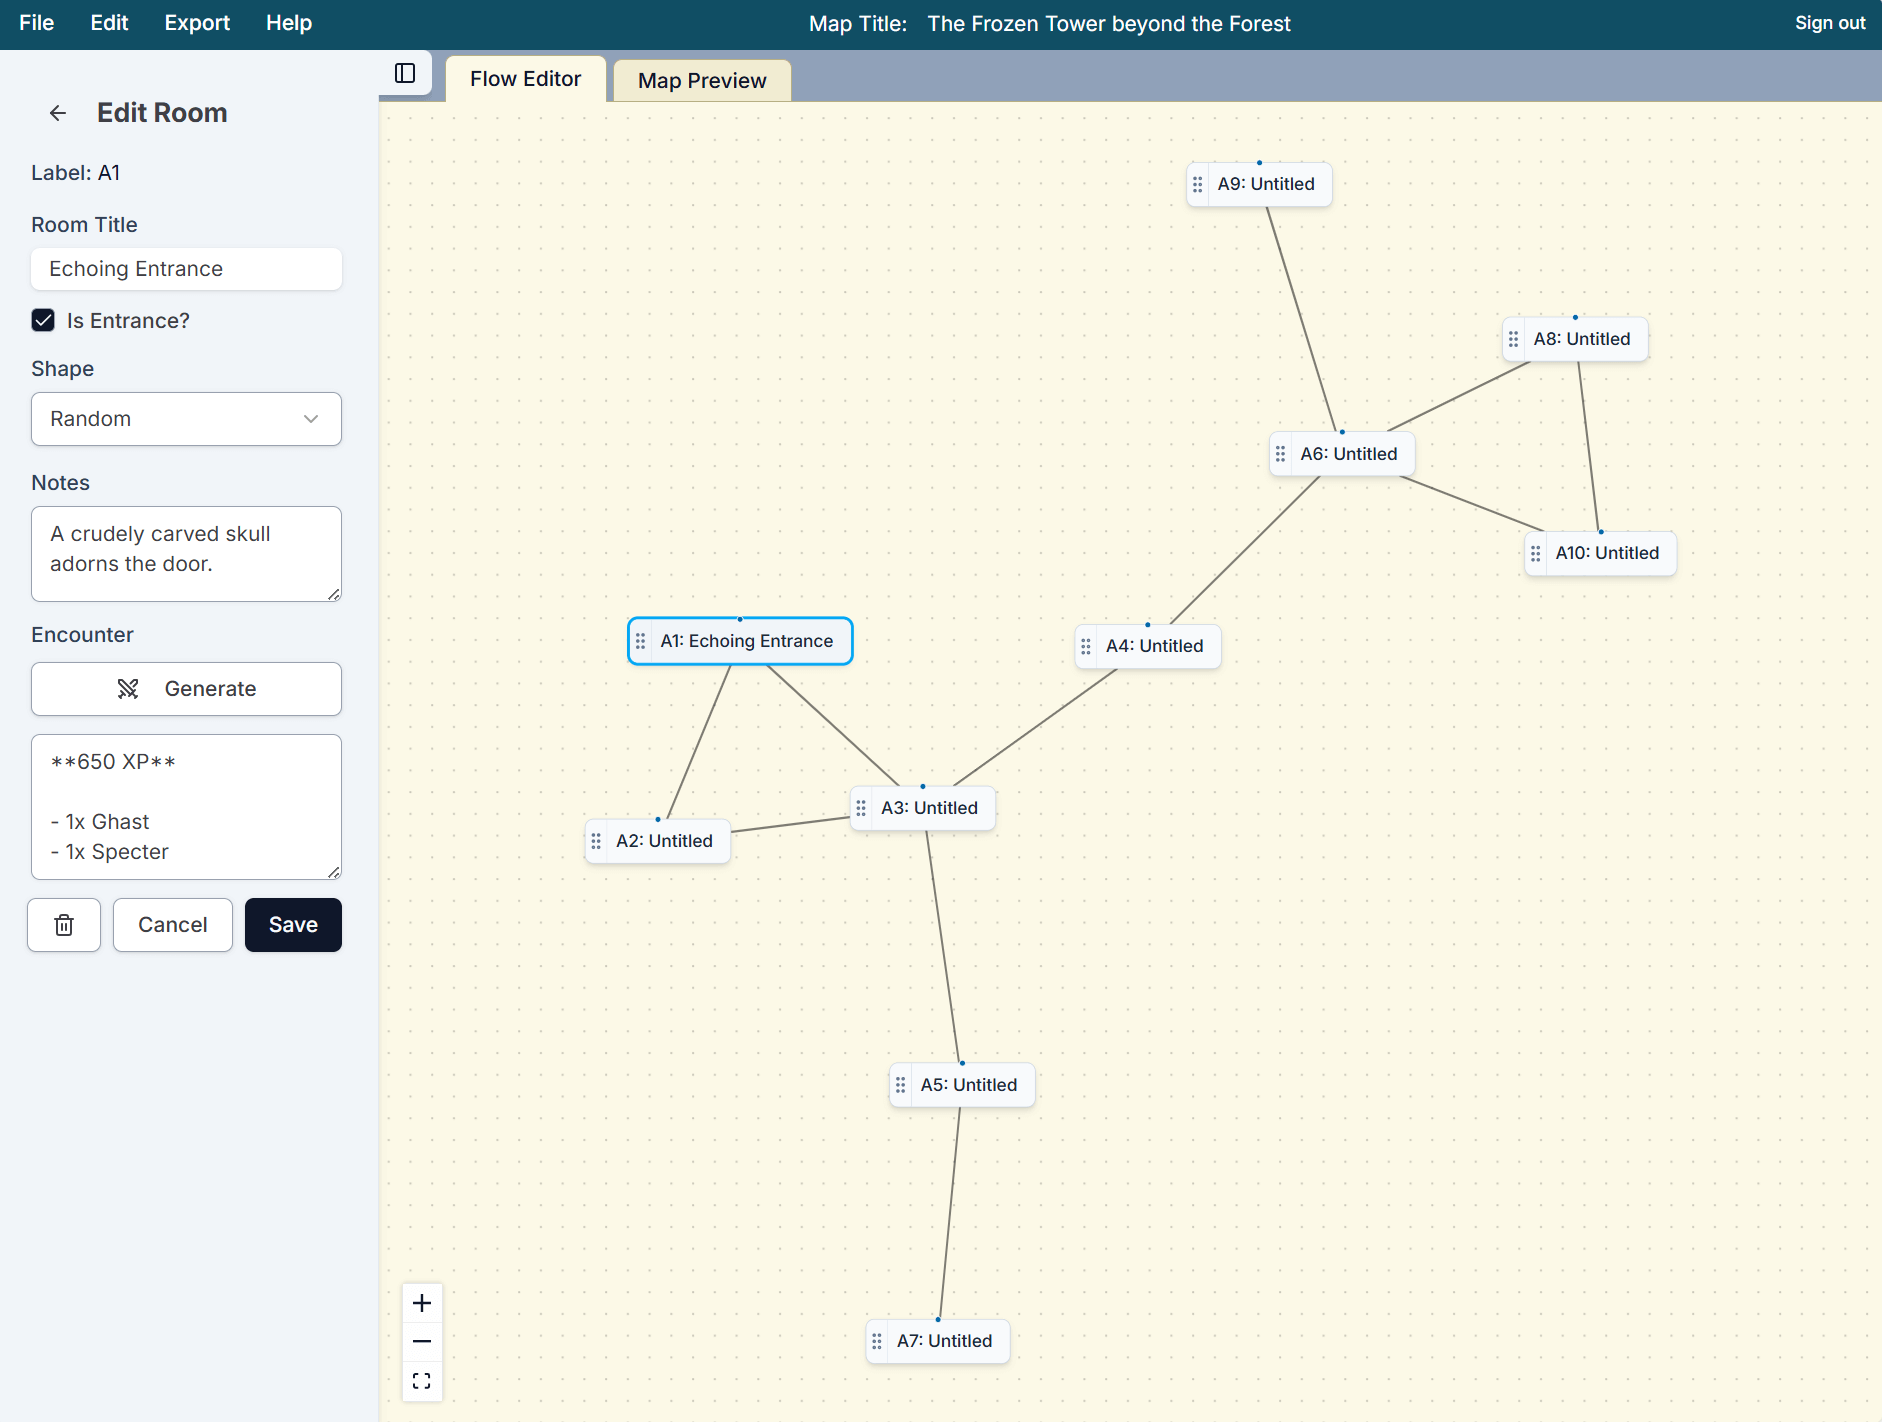
2. Edit and add rooms
Then you'll be presented with a flow chart representing how rooms connect to each other. Clicking on an individual room will let you edit details like it's title, notes, and encounters.
You can add rooms by right clicking on the map. And you can add connections by dragging a line from the top connection circle to another room.
Don't worry about messing up. We've got a handy undo in the edit menu.
3. Generate a map
Once you're satisfied with the way that rooms connect, click the "Generate Map" button. You'll be presented with a map of your dungeon.
As you look at it, you'll see that all the rooms are connected to each other in the same way that they were in your flow chart. Like your flow chart, but the map isn't quite to your taste? Just hit "Generate Map" again as many times as you like. Each one will be different, but they'll all meet the requirements of your flow chart.
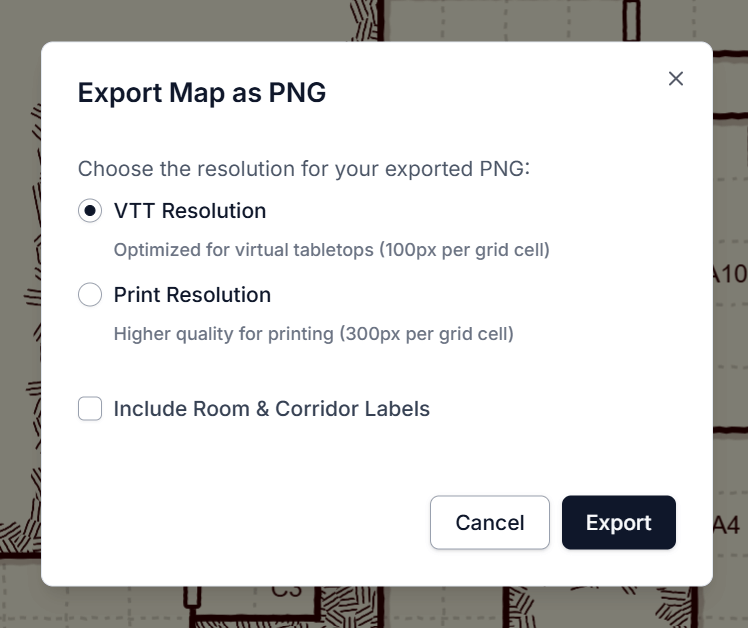
4. Export your map
When you're happy with your map, go on up to the Export menu. You'll see an option for exporting your map as a PNG in VTT or print quality.
You can also export a DM reference sheet which contains the map annotated with any notes you've added to the rooms. It's a great way to always know what's going on in your dungeon.
Ready to build your own?
Open Dungeon Flow and start building your own dungeon!